
Turn a US Pumpkin Patch Visit Into a Kids' Drawing Project
Make a pumpkin patch outing part of the art adventure, with easy sketches of pumpkins, paths and signs that become a shared fall scene at home.
· 5 min read
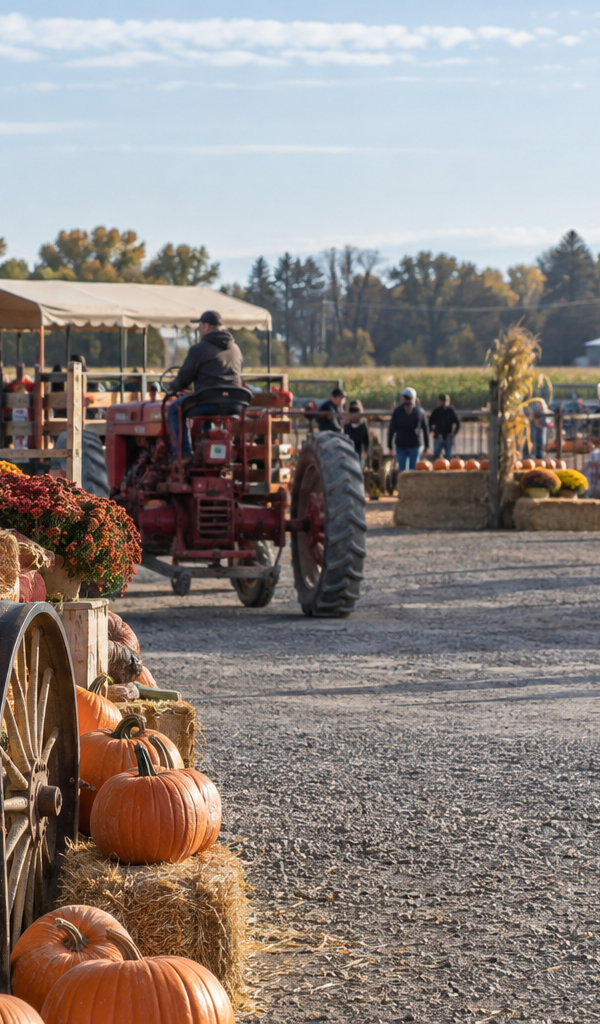
A pumpkin patch drawing starts with a few simple shapes: rounded pumpkins, a winding farm path and a sign pointing the way. On your next outing, invite your kids to collect those details in quick sketches, then combine them into one big fall scene at home. You don’t need realistic drawings or fancy supplies, just a little looking, a little scribbling and room for everyone’s ideas.
1. Pack a small drawing kit
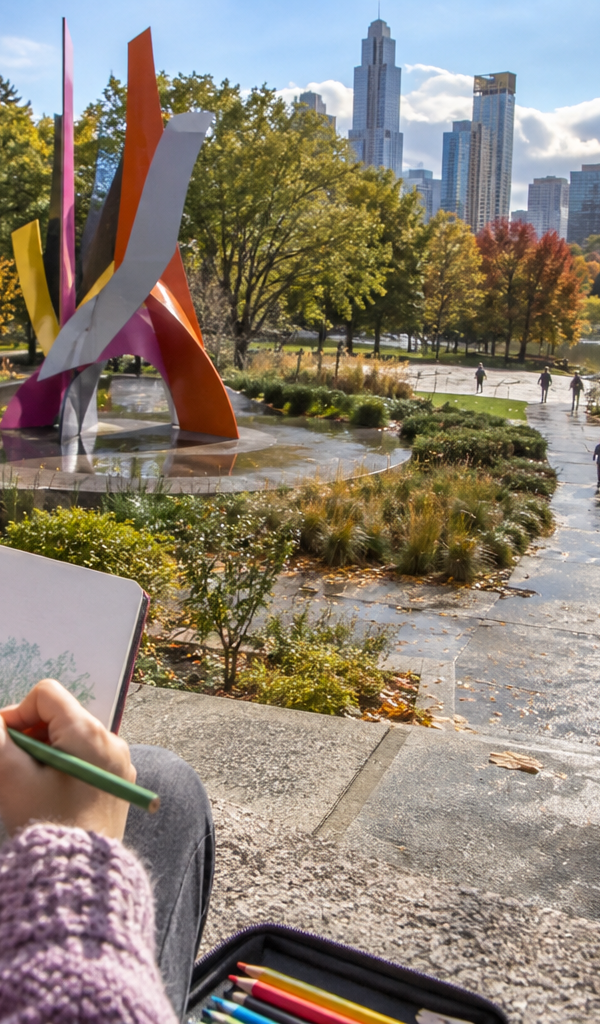
Keep your supplies light enough to carry alongside your usual outing essentials. This is a quick observation activity, not a full art session in the middle of a farm visit.
- A small sketchbook or a few sheets of paper on a clipboard
- Pencils and an eraser
- A handful of colored pencils or crayons
- A folder to protect finished sketches
At home, set aside a larger sheet of paper and whatever coloring supplies you already have. Several smaller sheets placed together can work, too.
Before heading out, check your chosen patch’s official website for visitor information and rules. Once there, choose a safe stopping spot away from vehicles, queues and busy walkways. Keep paths clear and follow posted signs.
2. Look for three details to bring home
Give the kids a simple art mission: find one pumpkin, one stretch of path and one sign to draw. If there isn’t a suitable sign or path to observe, leave that detail for their imagination later.
Ask questions that encourage looking rather than getting things “right.” Is that pumpkin tall or squat? Does the path bend? Is the sign a rectangle, an arrow or something else?
Keep each sketch brief. A rough outline and a few details are enough to spark a memory at home. If your kids would rather keep exploring, you can take reference photos where permitted and save the drawing for later.
3. Sketch pumpkins with simple curved lines
Start with the pumpkin that catches your child’s eye, not necessarily the most perfectly round one. A lopsided pumpkin gives you plenty to draw.
- Draw the outline. Make a wide oval, a tall oval or a rounded, slightly bumpy shape.
- Add a stem. Draw two short lines at the top and connect them. Let the stem lean if that matches your pumpkin.
- Draw the ribs. Add curved lines from near the stem toward the bottom, following the pumpkin’s rounded shape.
- Notice one extra detail. Include a pale patch, a scratch or a bit of dirt if you can see one.
Younger kids can stop after the outline and stem. Kids wanting more detail can add a darker area beneath the pumpkin or shade one side. Try sketching two different pumpkins beside each other to compare their shapes.
4. Draw a path and a farm sign
A path gives your finished picture a route for the eye to follow. On a separate part of the sketch page, draw two lines that start apart near the bottom and move closer together farther up. Bend both lines in the same direction for a winding path.
Add a few marks for whatever surface you observe, such as dots for small stones or short strokes for grass along the edge. There’s no need to draw every pebble.
For a sign, sketch its outer shape first, then add the post or supports you can see. Leave room inside for lettering. At home, your child can copy a short label they noticed or invent a destination, such as “Pumpkins This Way.”
5. Build your fall scene together at home
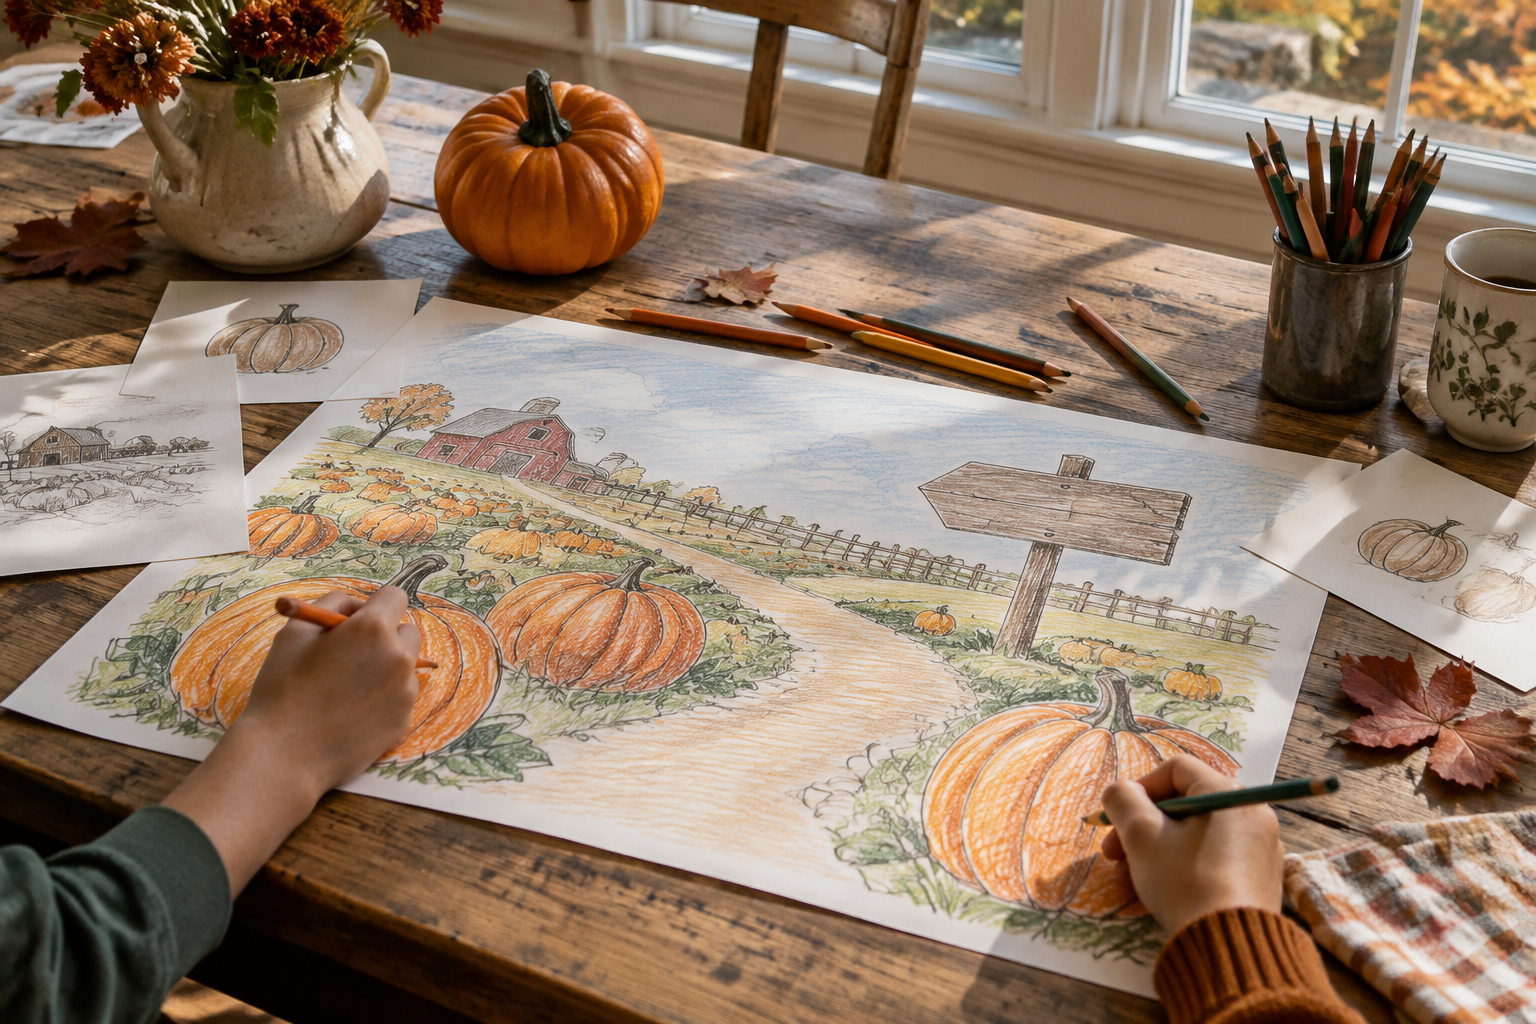
Spread out the outing sketches and choose which details to include. Before anyone starts on the large sheet, agree on where the path will go and where the biggest pumpkins will sit.
- Place the path. Draw it lightly, leaving space on both sides for pumpkins.
- Add the main pumpkins. Put larger shapes near the bottom of the page and smaller ones farther up to suggest distance.
- Set the sign beside the path. Make it large enough for your child’s chosen words.
- Fill in remembered details. Add leaves, grass or other things your family actually noticed.
- Color the scene. Use your sketches as reminders, or choose an entirely imaginative palette.
Give each child a section or a job if sharing one sheet feels crowded. One person might draw pumpkins while another handles the path and sign. You can also make separate pictures and display them together as a family gallery.
6. Make room for their own ideas
Your shared picture doesn’t have to be an exact record of the outing. After adding the observed details, invite everyone to contribute something invented: a tiny pumpkin house, a leaf-covered bridge or a friendly scarecrow.
Ask each child to point out one thing they saw and one thing they imagined. Write the outing date on the back, along with a favorite memory, to turn the artwork into a keepsake.
Frequently asked questions
How do you make a pumpkin patch drawing easy for younger kids?
Use three big shapes: an oval pumpkin, a path made from two lines and a rectangular sign. Let your child add colors and marks without correcting the outlines.
Do we need to draw during the visit?
No. Look closely together, then draw from memory at home. Reference photos, where permitted, are another option if stopping to sketch doesn’t suit your outing.
What if our drawing doesn’t look like the patch?
That’s fine. The goal is to notice details and make something together. A scene with purple pumpkins and a zigzag path can still hold a real memory of your day.